Capstone Project
For my capstone graduation project I decided to build a working computer keyboard out of LEGO. I had previously spent hours researching different keyboard builds, and was brainstorming ideas when the idea of making one out of LEGO jumped out at me. I already had all the bricks I would need, and did more research into what else I would need for this build.
Components
I started by purchasing essentials of a keyboard:
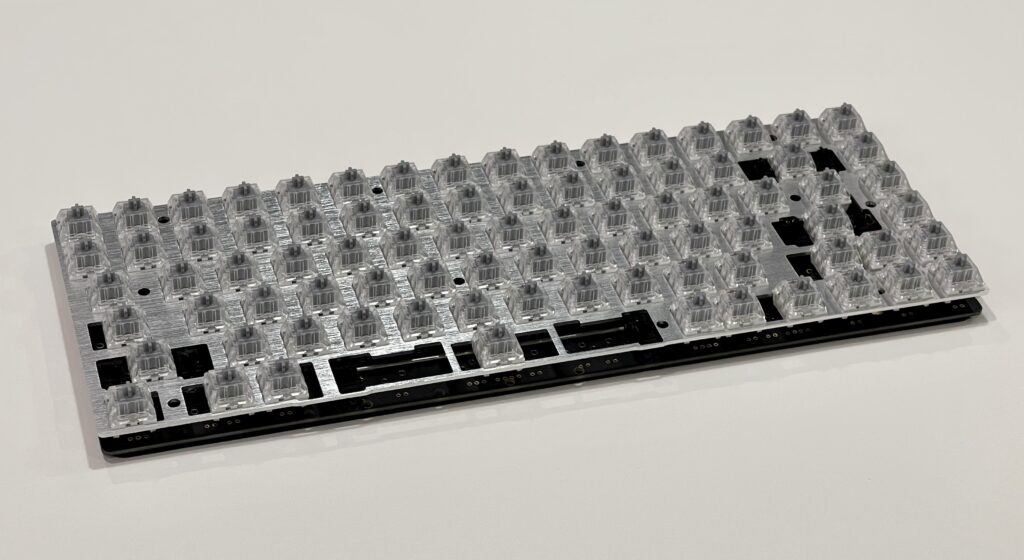
PCB – Electronic circuit board
Plate – Covers PCB and holds switches in place
Case Foam – Dampens sound, protects PCB from the case
Switches – Buttons that send signals through the PCB to the computer
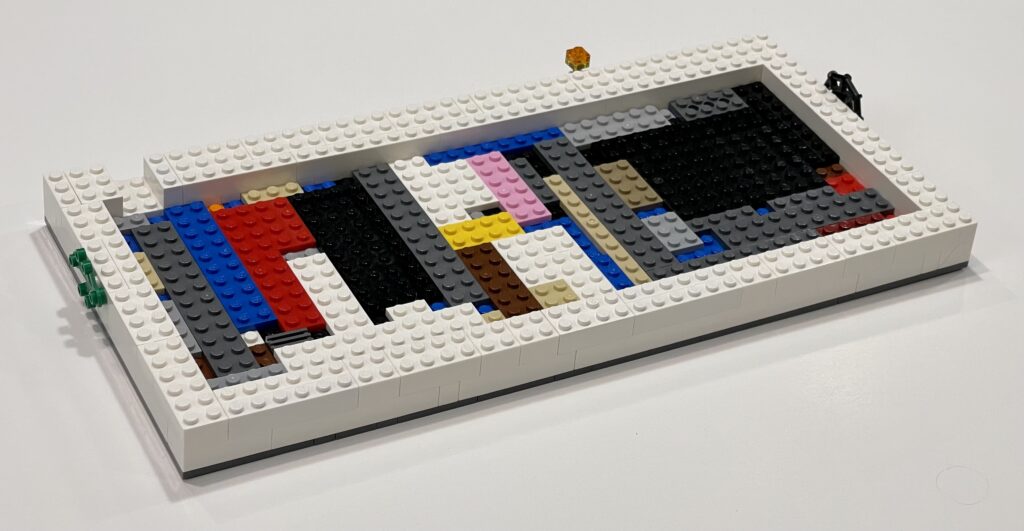
Case
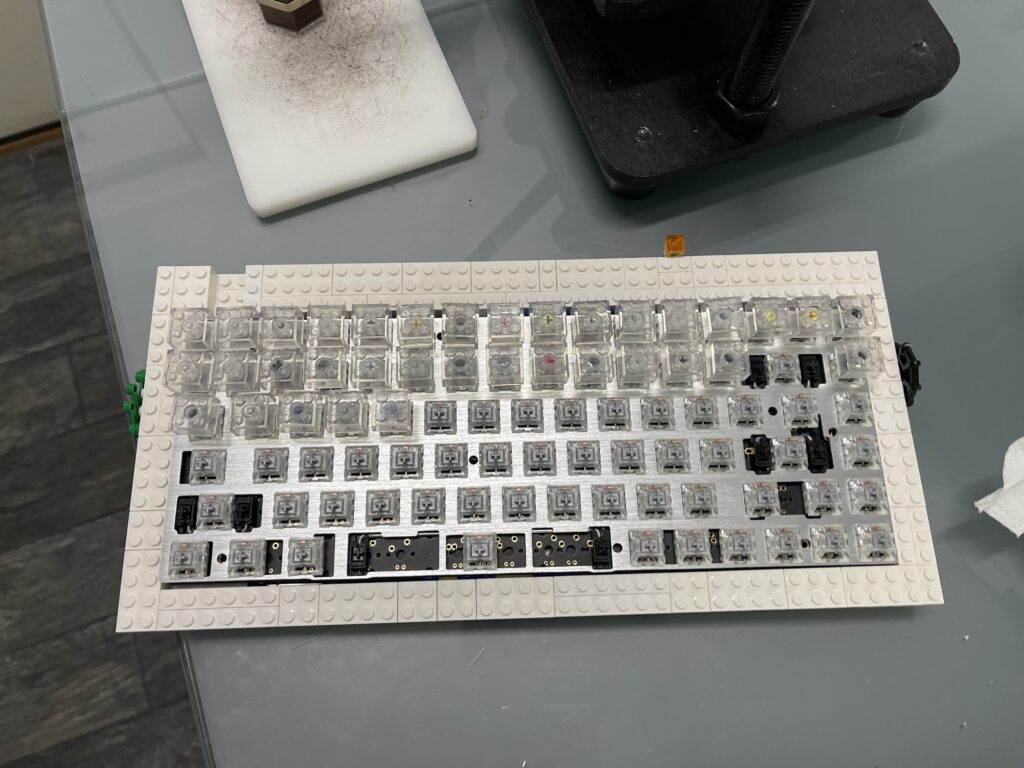
When I had the dimensions of the plate and PCB, I was able to start building my case. I spent a fair amount of time making sure this keyboard would be durable, so my two layers of white bricks are all connected in a way that ensures stability as the walls of the case. I have two layers of plates underneath the entire keyboard, which creates a strong base. Then, to support the PCB and Case Foam, I built up four layers of smaller plates.
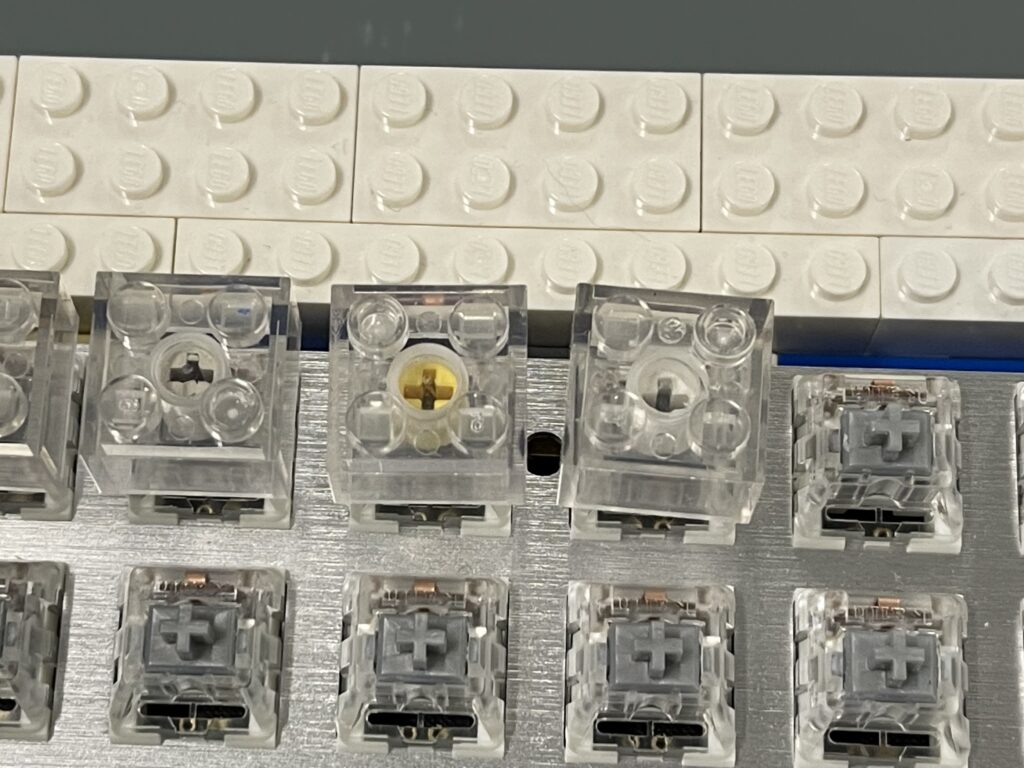
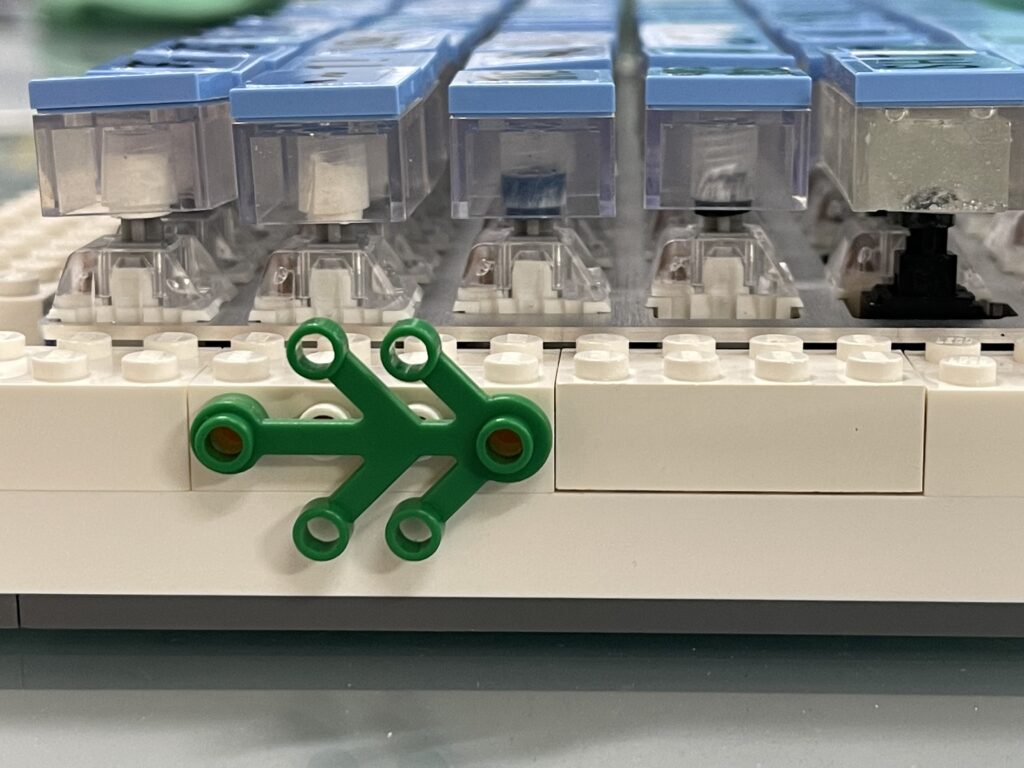
Switches
I spent some time to craft the feel I wanted for this keyboard, so I disassembled my switches, and lubricated the housings, spring, and stem of each switch.
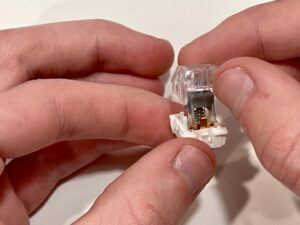
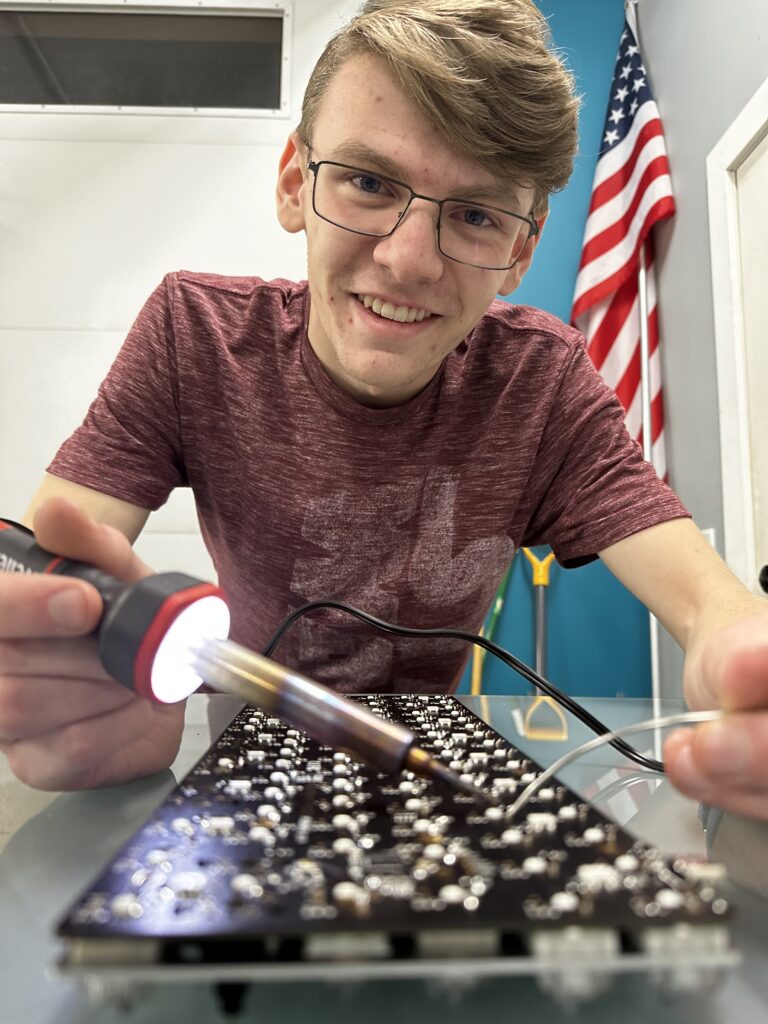
I learned how to solder in my Digital Electronics class! I used this experience in my project as I soldered the switches into the PCB, locking in the aluminum plate.
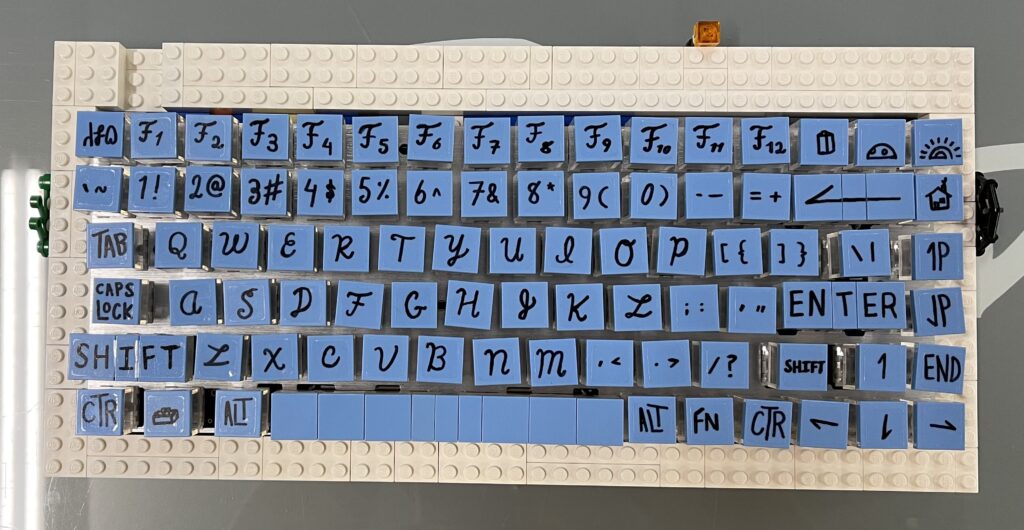
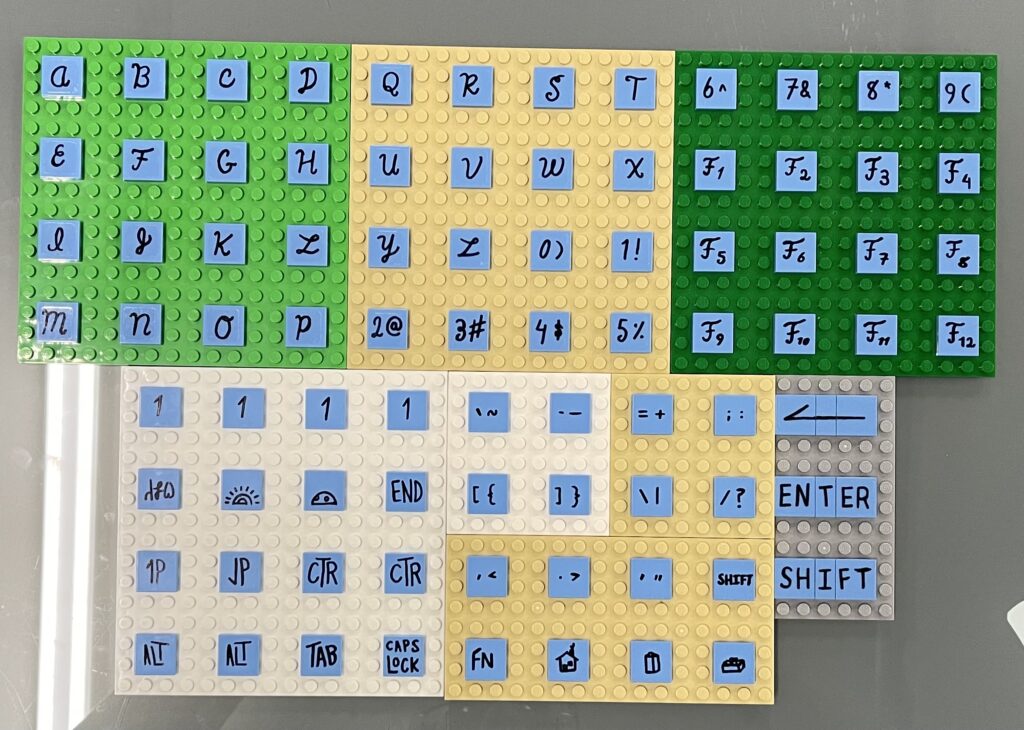
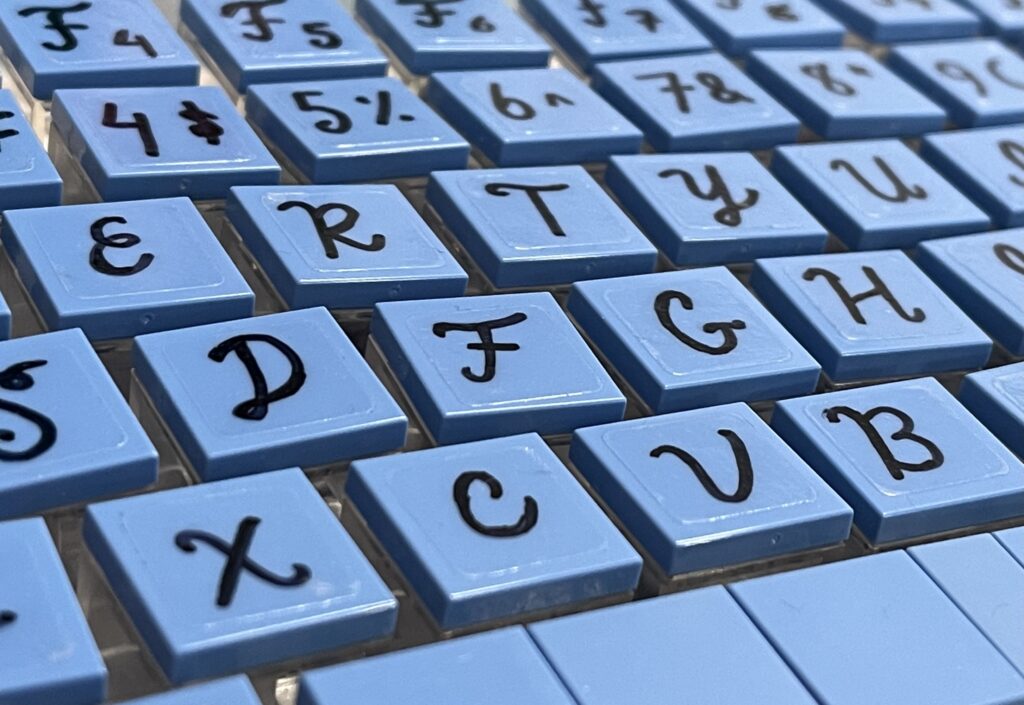
Keycaps

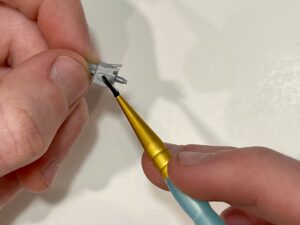
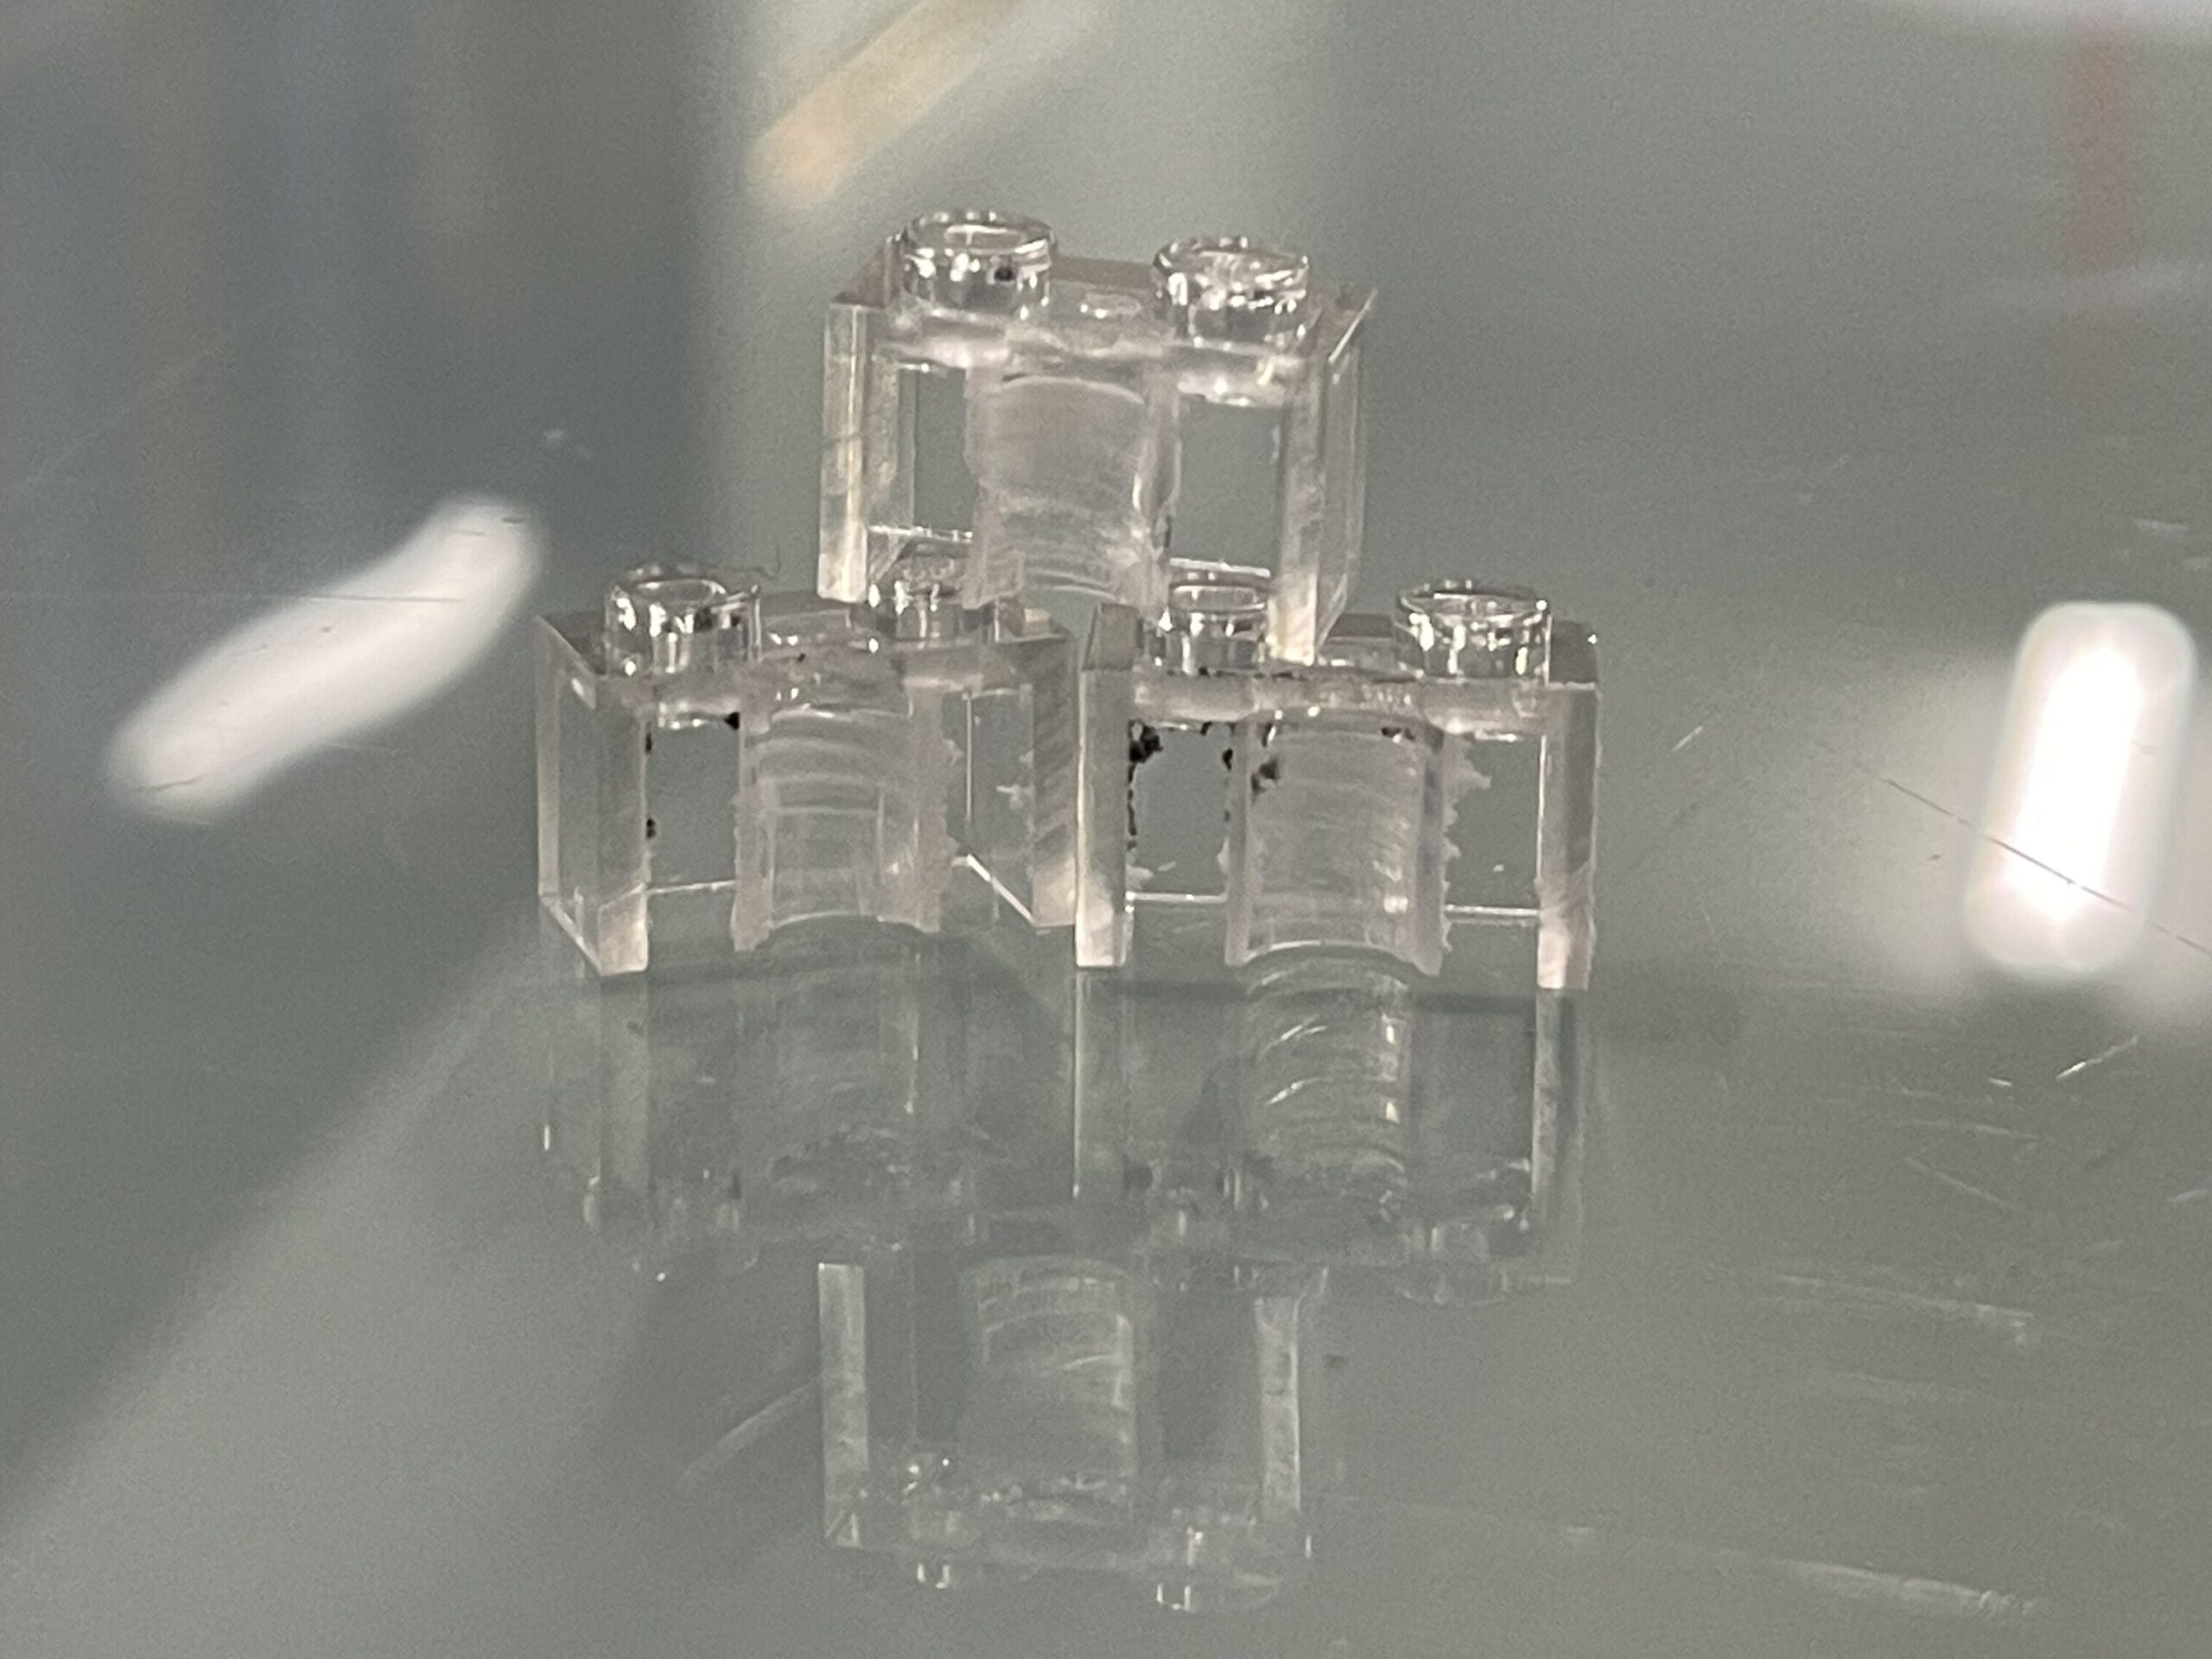
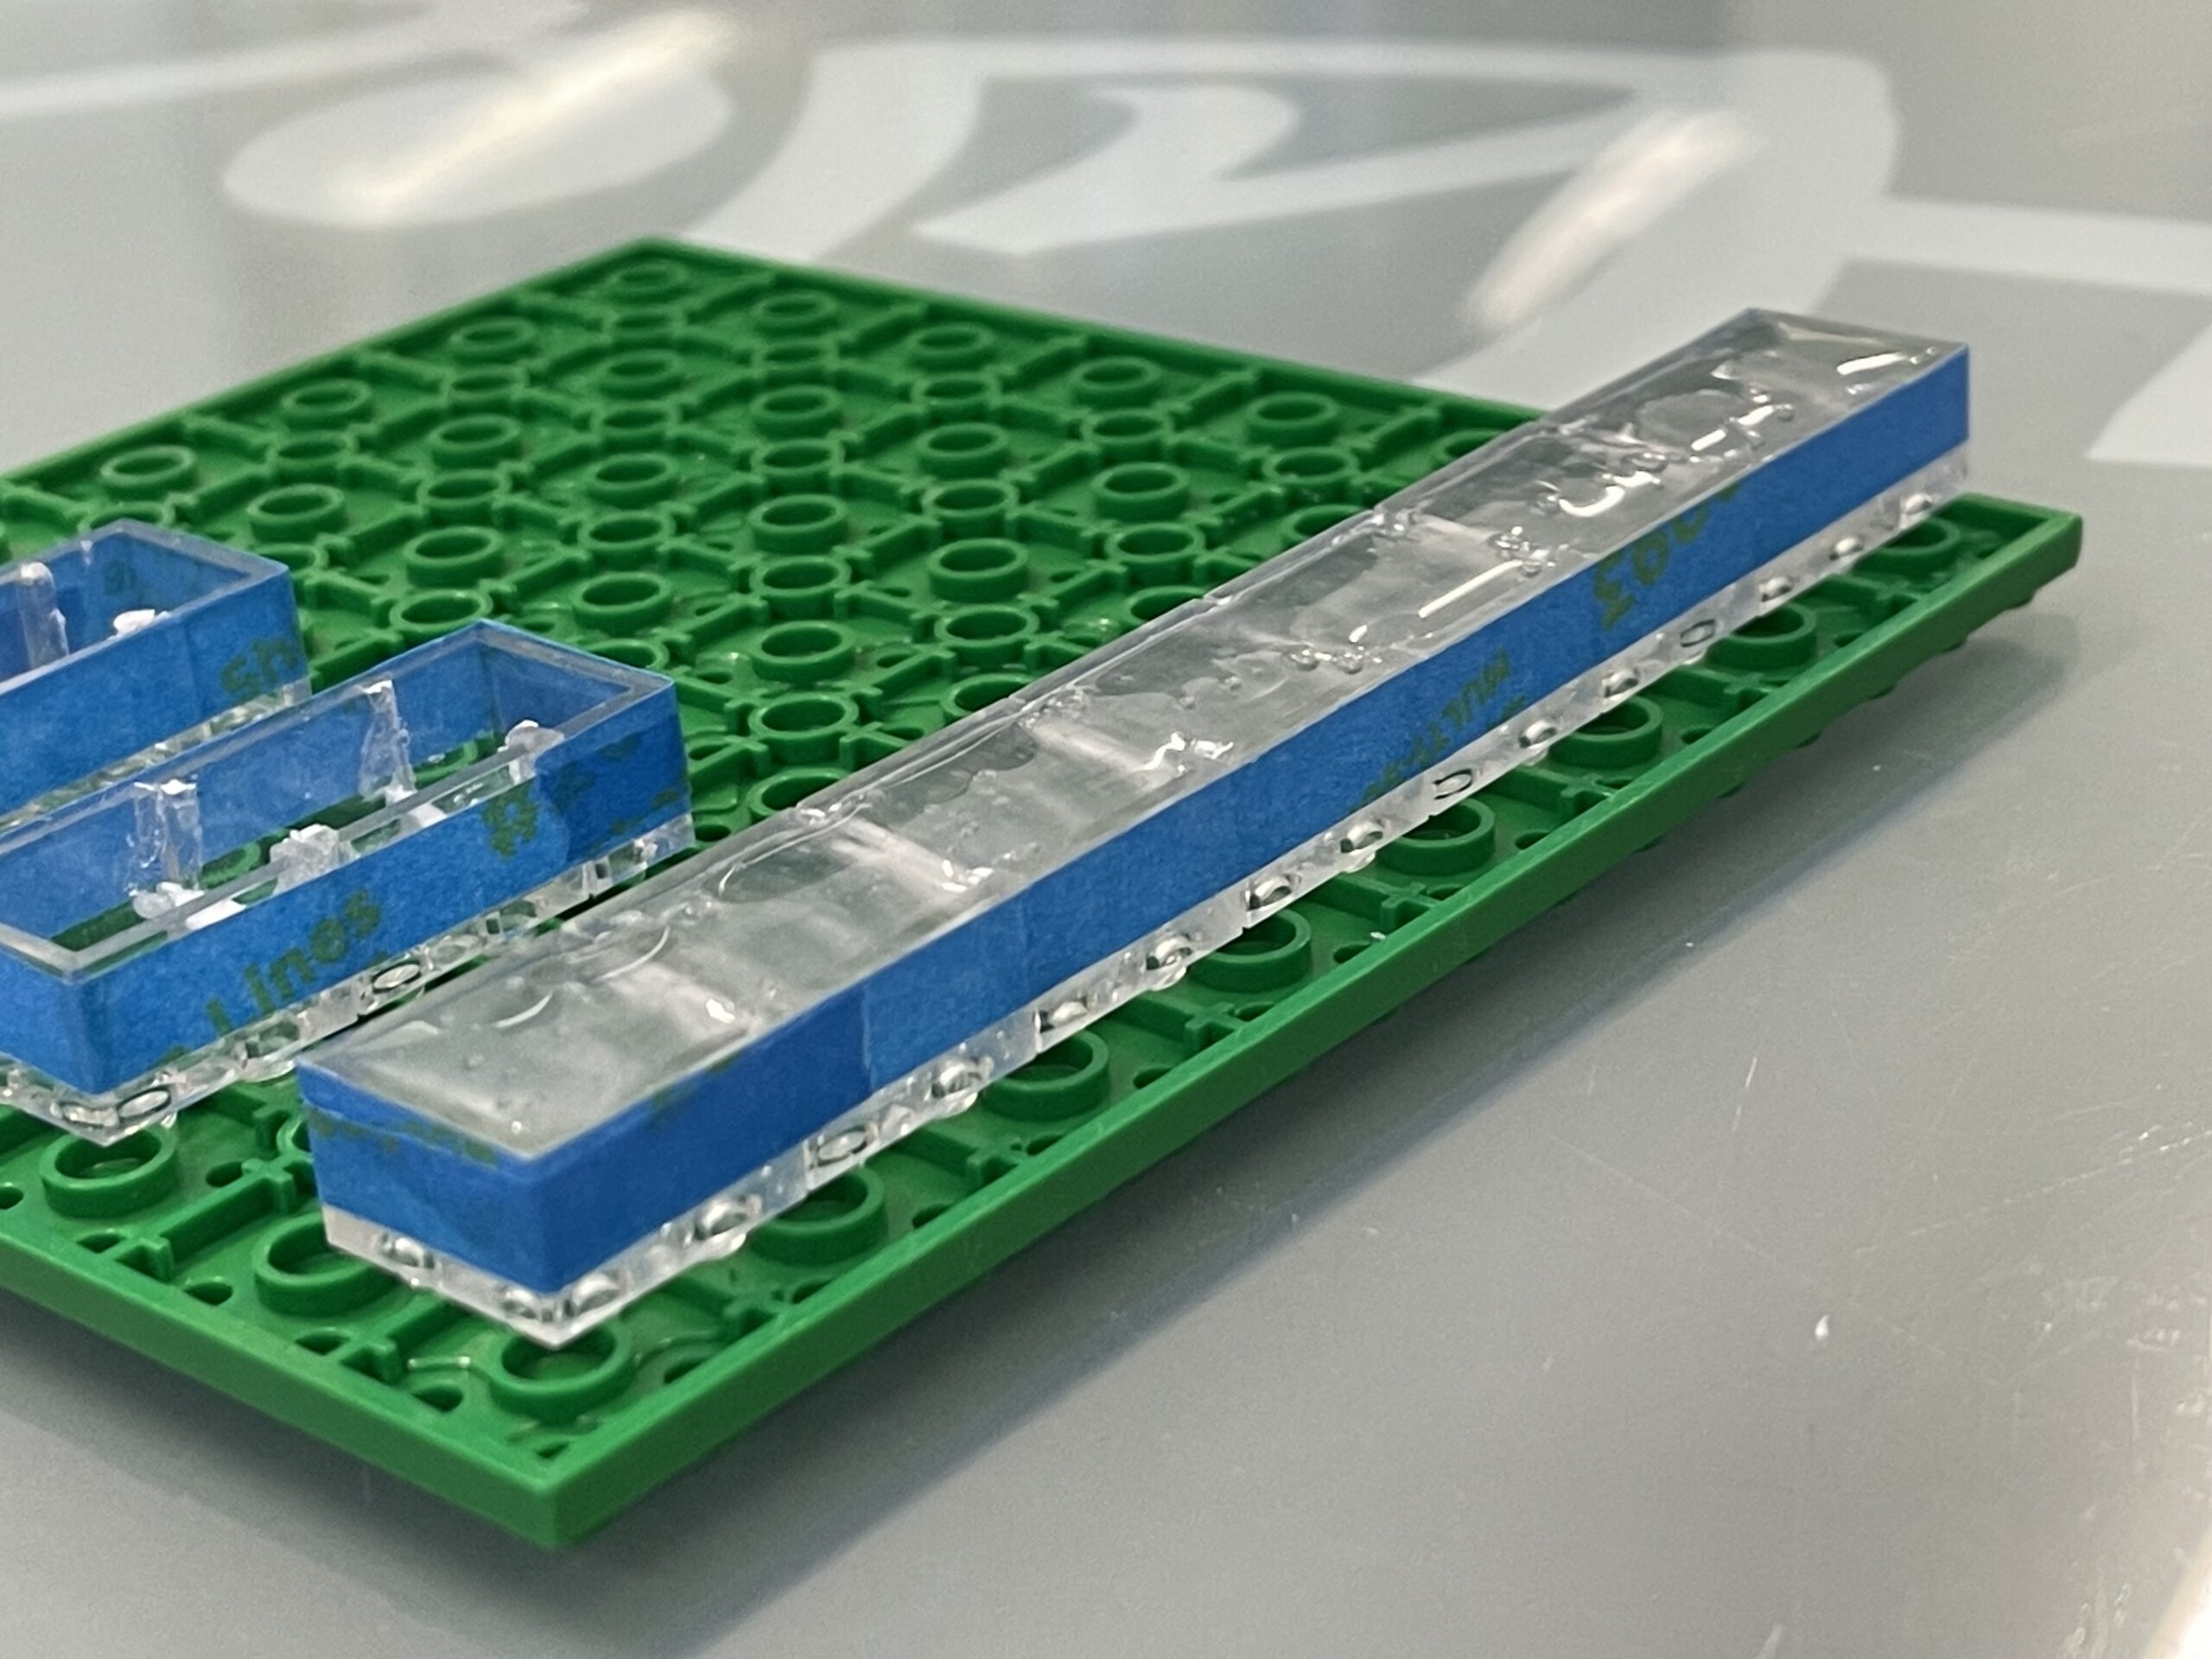
I wanted to use a 2×2 LEGO brick for each keycap, as they are almost the exact same size as a standard keycap. Because the tube in the bottom of each brick is larger than the switch mount, or stem, the bricks would wobble and fall off as you type. So I bought a couple hundred keycaps, and removed the tops off of them to harvest their stems.
I then had to insert the stem of the donor keycap into the LEGO’s tube. Because these tubes were thinner than the stems, I had to drill the inside of them. Many of the LEGOs cracked under pressure, but I had to continue on. With the amount that had cracked, I had little room for error in the following steps.

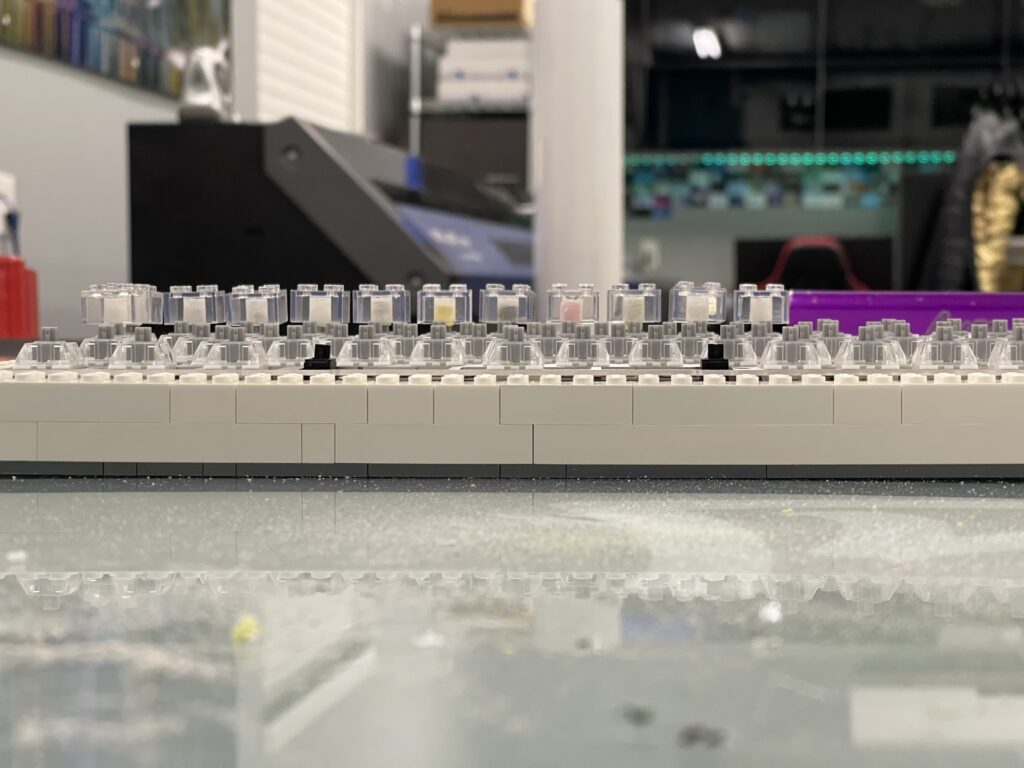
I had to cut a few LEGO bricks in half to make my large keys such as the space bar, enter, backspace, etc.
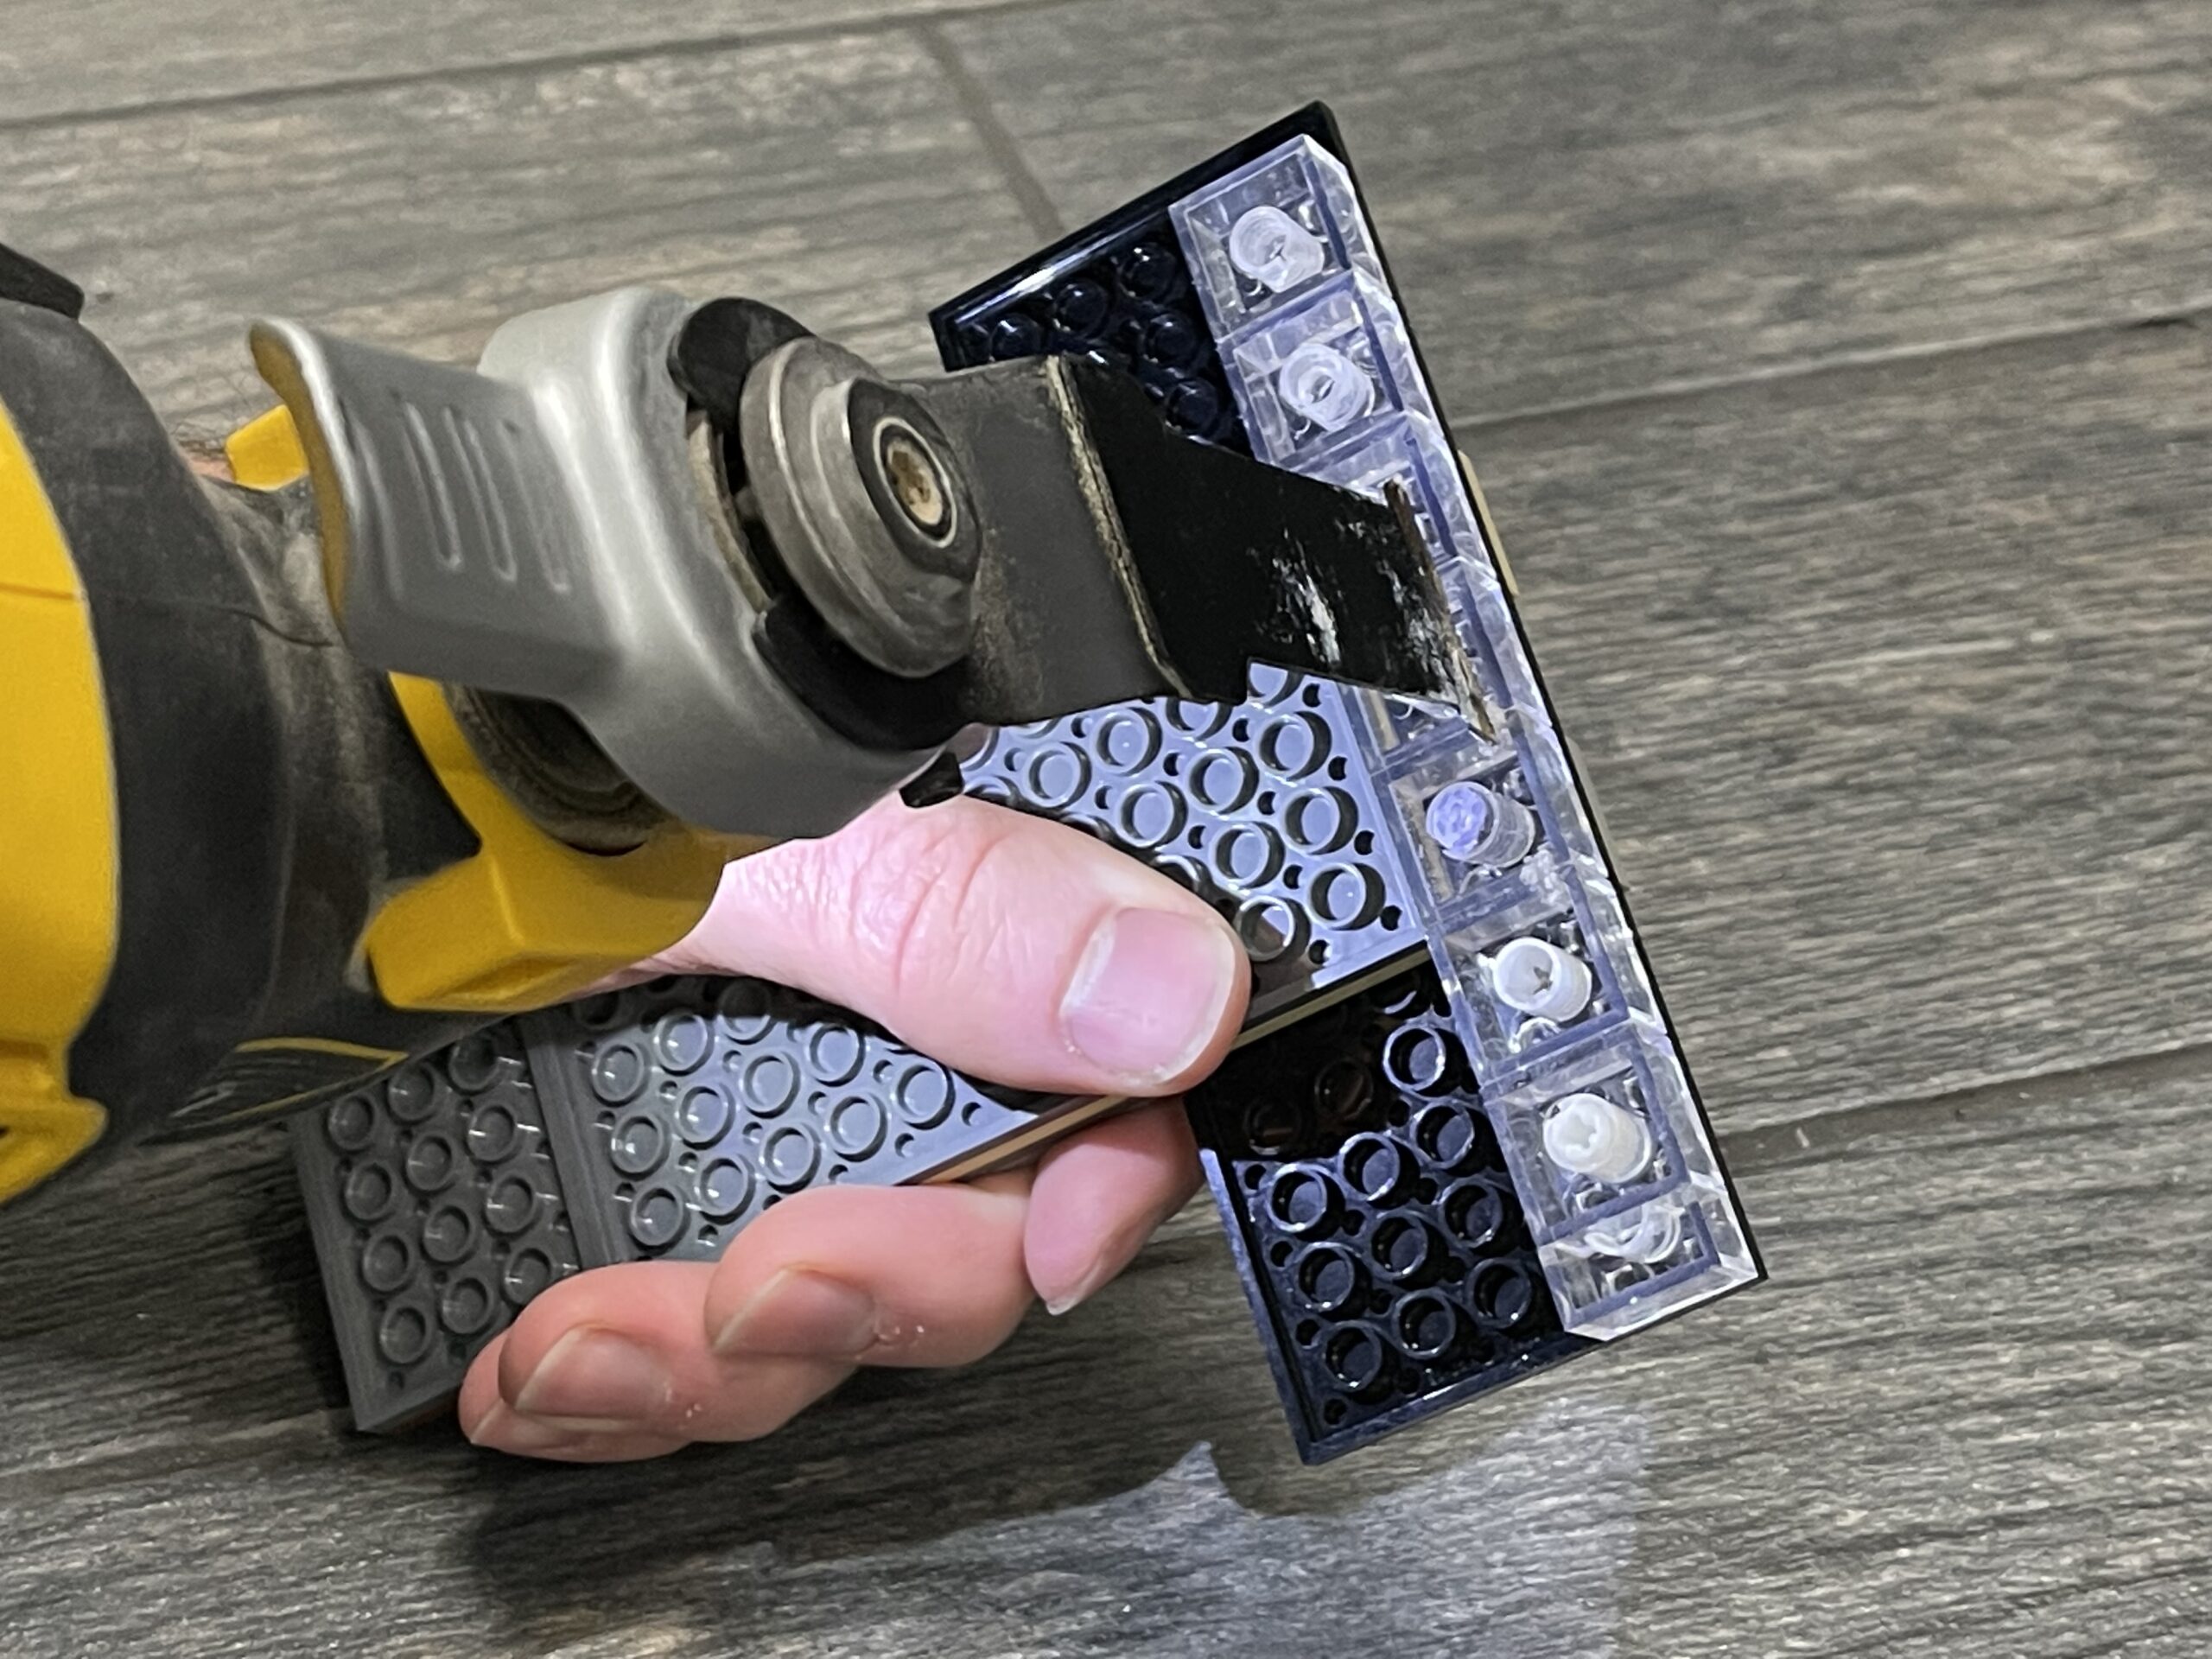
The Final Product

I am very proud of this project! I learned how to work through the engineering design process, and how to have patience when things are not going as planned.